Come and learn with us how to draw a wonderful tulip thanks to our easy drawing tutorial which describes each of the stages of the sketch to be able to see a wonderful flower bloom. This tulip drawing is suitable for everyone, young children, older children, beginners and pencil professionals: it is impossible to miss. Perfect if you give lessons, if you want to send a declaration of love, a greeting card, or simply the desire to master the design of this jewel which blooms and reveals its colors to us between March and May.
In this guide, we detail the easiest possible way to make a tulip in six simple stitches, and voila. You will see, the majority of the steps require you to draw very simple and familiar shapes. We can therefore tell you that it is the perfect activity to give to children so that they are occupied, that they have a good time and that they have fun. ?
![]()
![]()
The material you need to draw a tulip well
- A pencil or a black marker for the outlines of the drawing, be careful not to end up with scribbles in your hands.
- One or more blank sheets to deal with any artistic catastrophe.
- Colored pencils or markers to color the flower, be careful not to overflow.
- A pencil sharpener to have a perfect mine.
- An eraser to correct missteps.
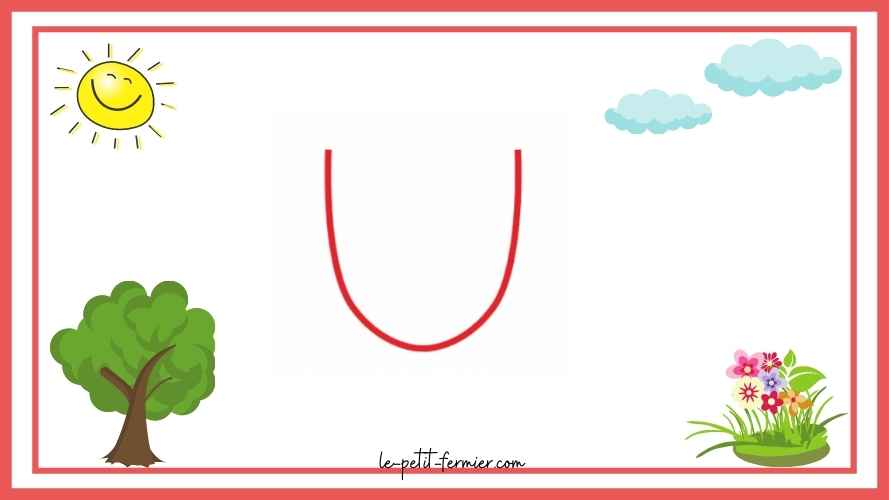
Step 1: The base of the flower
- To your pencils! To start our flower , nothing could be simpler than to draw a U-shape in the middle of your sheet, depending on the desired size of the final rendering, adjust the height and width of this U.
![]()
![]()
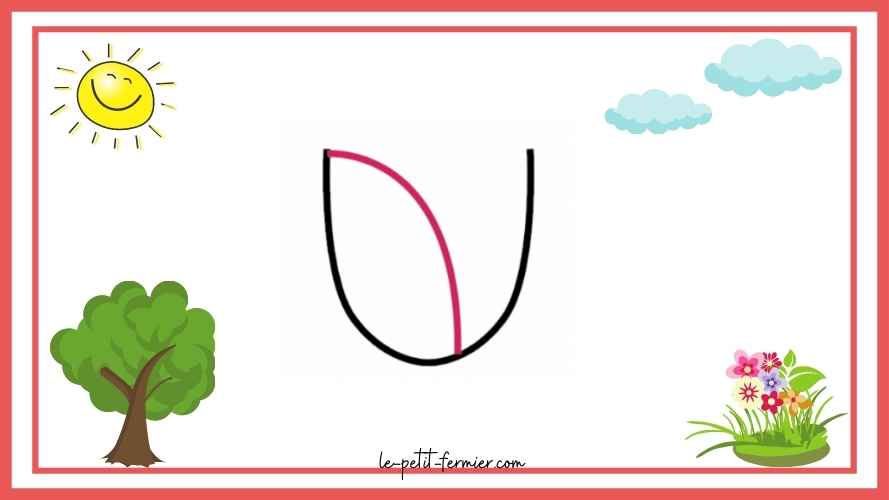
Step 2: The first petal
Did you know ? : The noun petal is a masculine noun, it’s a common mistake in the French language, but we’re going to make the sketch of the first petal of our tulip.
- This is to draw a simple curved line.
- Start by placing your black marker or pencil at the left end of the U from the previous step, at the very top left. You can also start on the right and reverse the directions throughout the flower design.
- Then draw a curved line up the sheet, down this line to the bottom of the U.
- Do not hesitate to check on the drawing below if you too become tulip drawing professionals!
![]()
![]()
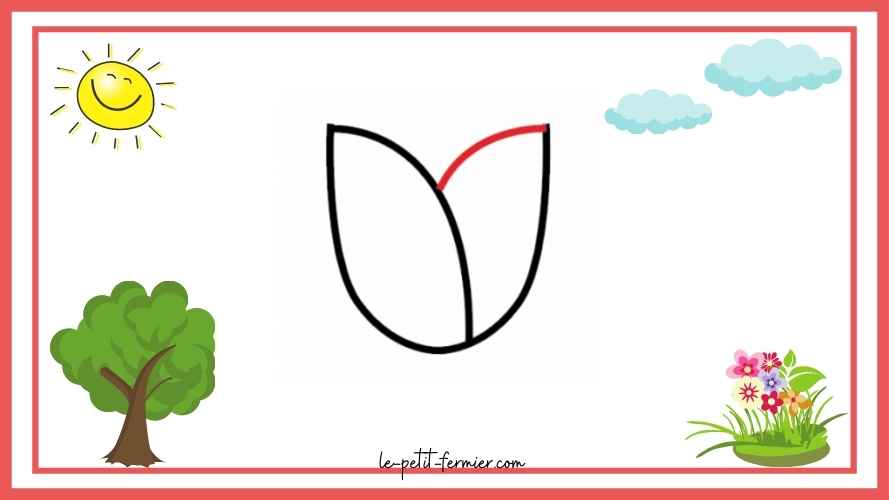
Step 3: The second petal
- Our flower hasn’t quite bloomed has it? What do we need? A little water, sun, fertilizer? But no see we are missing a second petal!
- Now draw a curved line (still towards the top of the sheet), starting at the top of the right side of the U or the left side if you had changed the directions.
- Now, you can take a little freedom in the choice effect available to you, either you descend the curve until it touches our first petal or descend it until our base of U.
- We chose to make a curve connecting the end of the U to the middle of our first petal.
![]()
![]()
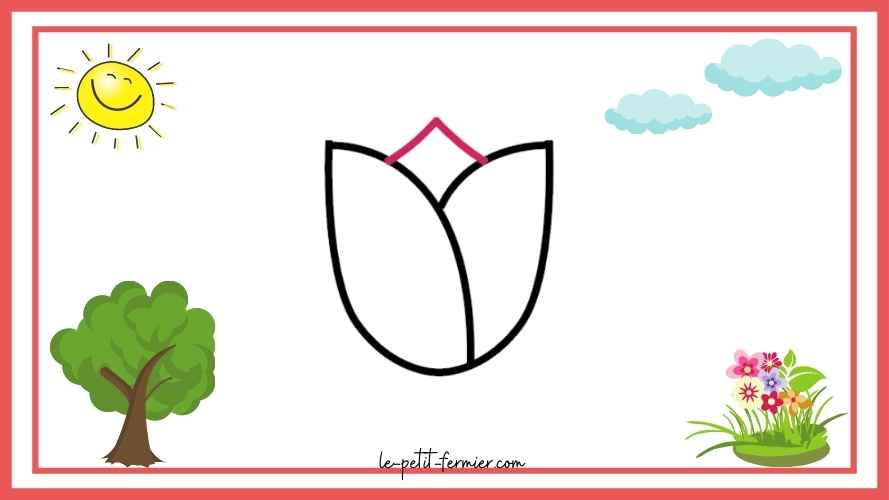
Step 4: The final touch to the bud
- In order to give a little perspective and realism to the flower, it is now time to draw its last petal.
- To do this, just add a triangle going from the upper part of the right curve to the upper part of the left curve.
- Do not be afraid of not being precisely symmetrical, in nature the flowers do not follow a regulation of size and shape, their “small defects” precisely make their originality and their beauty!
- Do not hesitate to refer to the diagram:
![]()
![]()
Are you a lover of flowers and plants of all kinds?
Our collection of farm animal flower pots is made for you!
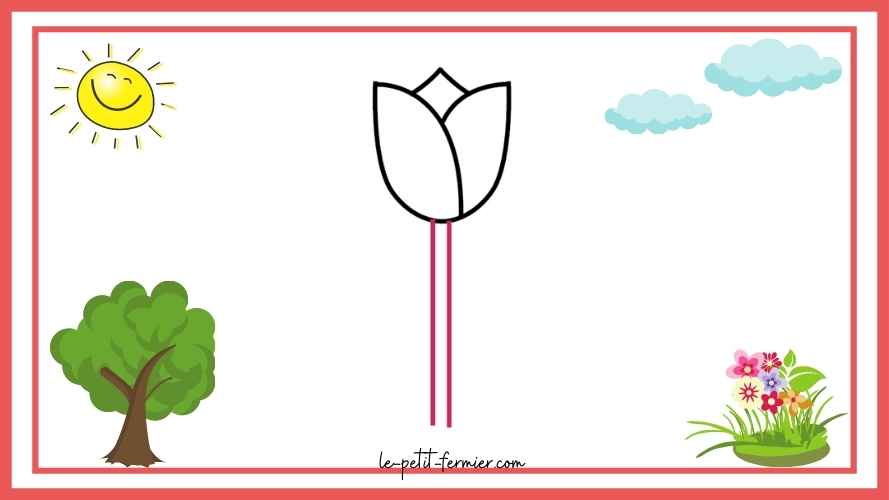
Step 5: The Tulip Stem
- Our flower is taking shape, but it needs a stem to stand up and be able to draw the resources it needs to grow and live in the ground.
- The tulip is also known to be a flower with a particularly large stem , which is what makes it so charming.
- Let’s go back to our work, take your pencil and draw two parallel straight lines from the base of the U to the bottom of the drawing sheet.
![]()
![]()
Step 6: Its large leaves
- Here is the penultimate step of the tutorial before you can contemplate the result!
- For the tulip leaves , draw two leaves from each end of the stem starting at the bottom of the latter, they must be of the same proportion. Your flower can also have only one leaf, there is no problem, but the choice of its position is up to you.
![]()
![]()

Step 7: Coloring the tulip
- Here we are already at the last step … coloring ! Give free rein to your desires, your imagination, your preferences…
- The tulip is a colorful flower that makes you dream and is often compared to a work of art, you can give it all the possible and unimaginable colors as long as it is the most beautiful in your eyes. You can opt for pastel or bright colors.
![]()
![]()

We congratulate you! You just bloomed the most beautiful tulip we’ve ever seen! You are a real designer!
Conclusion to draw a tulip easily
We are sure your tulip is wonderful ! We hope you enjoyed this little guide and that you now have the flower that suits you and is perfect for you.
There are more than 115 species and 4,000 varieties of this flower in the world, so why not make a new one? By simply modifying the size, the colors, the shadows, why not speckling the petals… Everything is possible, it’s up to you to have fun!
Make way for professional advice to succeed every time
- Don’t put pressure on yourself, no matter how talented you are, the drawings are simplified and accessible to everyone.
- Do not hesitate to use other formats and supplies than colored pencil or marker, felt-tip pens, paint, water paint, gouache, acrylic, watercolor, grease pencils or wax crayons are just as many possibilities to explore.
- Work on the shadows and nuances of your drawing for a more realistic and less frozen rendering. By blurring certain areas and accentuating certain lines of the drawing.
- For a more fictional result in the style of cartoons or manga , you can simply accentuate the lines of the drawing with a marker (black preferably).
- Do not hesitate to trace sketches of your sketch or to draw the main lines, not pressing too much with your pencil which will allow you to make mistakes or to choose your favorite line while having the possibility of erasing blemishes afterwards.
- Be creative !
Come and learn to draw other elements of fauna and flora
If you liked this activity , you are seduced by drawing and want to learn the basics, you want to improve your technique, your abilities, test other methods whether in charcoal or on canton sheet, you want to impress your loved ones?
Don’t wait any longer and come and choose your next achievement from the entire “How to draw…?” collection. You will find there all our drawing tutorials for beginners and advanced, always as playful , detailed , simple , accessible to all and fun . Drawing farm animals has never been so fun. Passing by the sheep and its curls, the cat and its long hair, the rabbit and its big ears, the chick and its little beak or even the kawaii cow.