Welcome to a new episode of “How to draw my animal?” ! Indeed, our drawing lessons continue today with a super easy and fun tutorial to be able to draw a little caterpillar step by step. In this tutorial, you will learn how to draw a cute caterpillar , like the ones you see in cartoons.
Are you new to drawing? Do your artistic talents remain very well hidden despite your many attempts? Do you want to learn to draw with children? Are you a hardcore caterpillar fan? Don’t worry, our guide on How to draw a caterpillar step by step is for you and we will accompany you until this little beast comes to life on your sheet.
Warning: Results guaranteed! Watch out for an upcoming caterpillar invasion .
This cute little caterpillar is the latest addition to our “How to Draw for Kids” series, where we share easy-to-follow, step-by-step instructions on all kinds of animals and objects. They are suitable for children of all ages, preschoolers, kindergartners and even parents and teachers (or anyone else new to drawing).
Let’s get into the thick of it. Let yourself be guided by the different stages of the sketch and above all don’t forget to give free rein to your imagination ! To get started, prepare all the necessary supplies.
![]()
![]()
The material you need to properly draw a caterpillar
- A pencil or a black marker for outlines
- One or more blank sheets
- Colored pencils or markers to color the caterpillar
- An eraser to correct missed lines
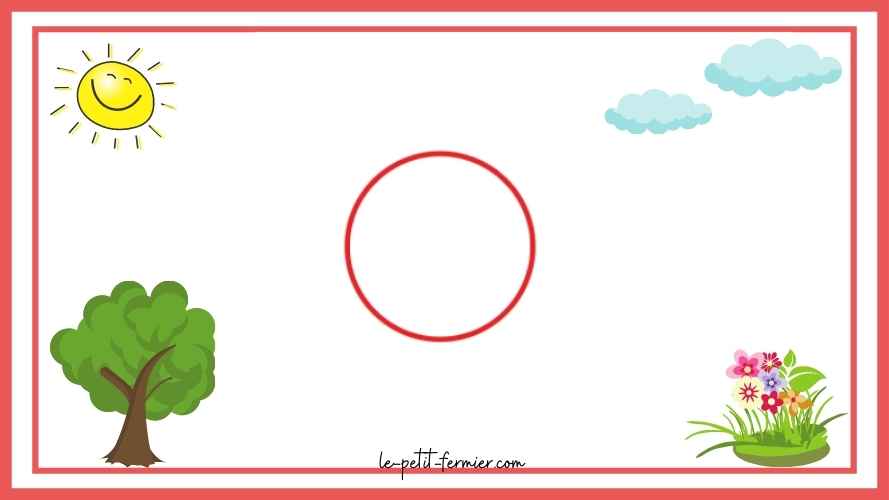
Step 1: The head of the caterpillar
- Start by drawing a circle . It doesn’t have to be a perfect circle, but do your best… Don’t worry, you’ll have time to improve throughout the drawing!
- (If you have a minimum of equipment you can help yourself with a compass or even a drawing ruler! We promise you that this is not cheating…)
![]()
![]()
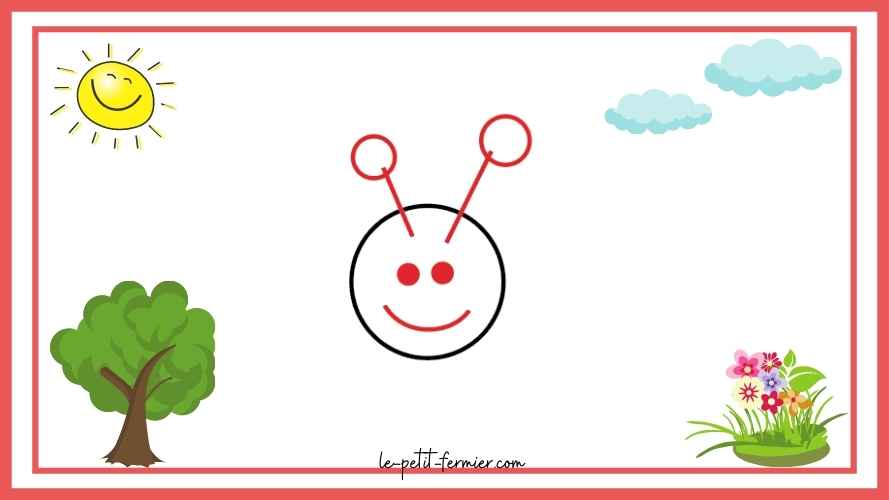
Step 2: Antennae, mouth and eyes
- Let’s get down to business, it’s time to draw him a face: that is to say, to start drawing the antennae and facial features of our little caterpillar. You can keep it simple by drawing two lines at the top of the head followed by two small circles.
- By the way, did you know that the antennae of the caterpillar correspond to your nose and our mouth? They actually allow him to perceive smells, tastes, but also sounds through different vibrations.
- As for the facial features, you just need to form two solid circles for the big eyes and a rounded line which represents the mouth and the smile of your insect!
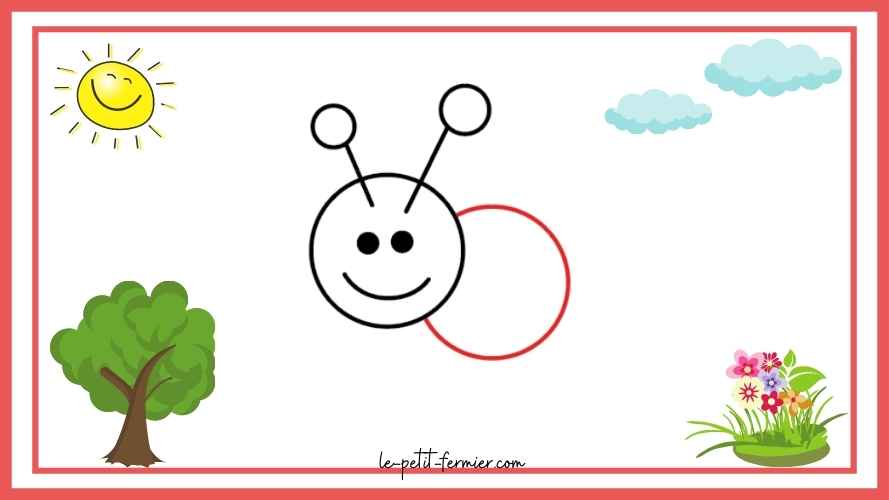
Step 3: The body
- Let’s go now let’s start drawing the body , it’s about drawing a “half” circle shape or the letter C if your caterpillar is facing in another direction than ours.
- This drawing is to be glued to the previously made head. You will end up with two circles glued to each other. To be sure you are on the right track, refer to our model:
![]()
![]()
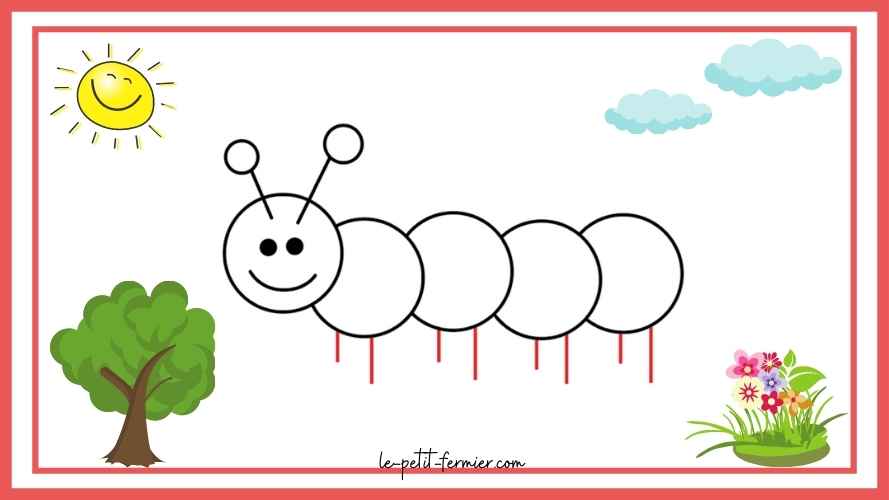
Step 4: The continuity of the body
- Hang on, you’re already halfway through the caterpillar sketch! Following the first semicircle representing the body, you can continue drawing.
- The caterpillar has a long, even very long body, so you can draw as many oval shapes as you want, the more there are, the longer the body of the caterpillar will be.
- If you are not specialists in the optimal size of tracks, we advise you to add three semi-circles!
![]()
![]()

Step 5: Legs
- Now that the caterpillar has a body, it’s time for her to learn to walk. It’s up to you to help him by drawing his legs .
- For that, nothing could be simpler, it is simply a question of adding a pair of legs per circle! (If your caterpillar has a body made up of four circles, it will need eight legs)
- Now a little concentration, you have to give perspective to your drawing, indeed one of the legs must be smaller than the other. Nothing could be simpler, draw two lines, one representing the hind leg which will be a little shorter than the front leg (line).
![]()
![]()
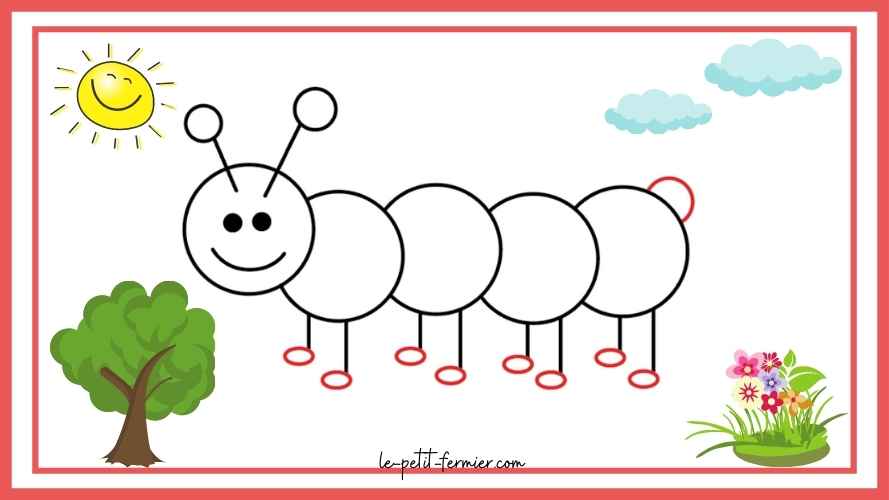
Step 6: The Details
- Only the final details remain! To be able to walk your caterpillar must have small feet . You just need to draw ellipses or small ovals at the end of each leg.
- To complete the body, a small tail is still missing, so draw a small semicircle above the last circle of the body.
- TADA a beautiful little caterpillar… Wait, you’re missing one last step: coloring!
![]()
![]()
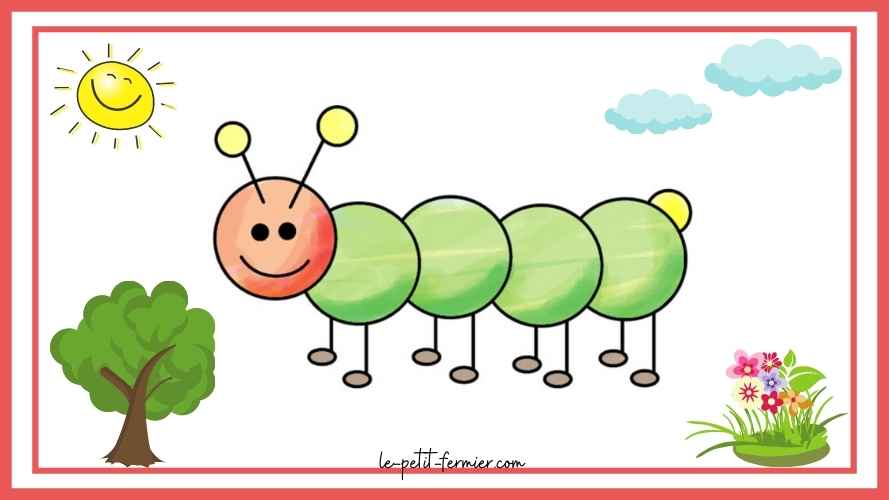
Step 7: Coloring the caterpillar
- To finalize your caterpillar drawing, all you have to do is give it some colors , use the colored pencils. You are free to use the colors of your choice: yellow, red, green, blue, orange… and why not purple and pink? Everything is allowed, you have carte blanche!
- If you need help the little farmer recommends a coloring in green yellow and orange like our realization below.
- You can use colored pencils , markers , or even paint .
![]()
![]()
Conclusion to draw a caterpillar easily
You have successfully brought to life a wonderful , kawaii and cute little caterpillar! We hope you like it, don’t forget that all the possibilities are possible and that it is up to you to try all the possible and unimaginable sizes, shapes and colors ! Do not hesitate to add details to the drawing whether it is small hairs on the caterpillar, leaves or other of its congeners.
A few professional tips for drawing well
- In order to make your drawing more realistic, draw the shadows of your caterpillar.
- To accentuate the manga and cartoon effect , mark the outlines with black marker.
- Start with a sketch or a sketch and erase the missed lines.
- You don’t need to be a professional to learn drawing .
Come learn how to draw other animals
If you liked this tutorial on how to sketch a caterpillar, come and discover all our other drawing guides that allow you to learn how to draw easily. Always available to all and entertaining .