
Today we are going to teach you how to draw a frog ! Nothing could be simpler thanks to our creative, fun and easy-to-follow tutorial , where we detail the realization of the sketch of the frog step by step. This guide will teach you step by step the technique to be able to draw a small amphibian, a frog or even a cute toad, you will become a great designer. Its detailed and easy-to-reproduce format is therefore suitable for all ages, whether it be the youngest, the oldest, beginners or professional artists, we will also give you all our advice so that you can achieve the best success in your work of art. art and bring a beautiful little frog to life.
Do not panic ! Our drawing course is available at all times and it is even printable, make yourself comfortable, take the necessary equipment and surround yourself with your best team members.
If you follow all our drawing instructions you will learn how to draw the cutest little frog in just a few strokes like a real cartoonist. This farm drawing course is easy to follow and therefore very suitable for children and beginners . The printable frame with the drawing steps is very practical if you are planning a drawing lesson in your class, because you can give each student their own sheet to make their easy-to-do sketch. Also watch how to draw a tulip![]()
![]()
The material you need to draw a frog well
- A pen, pencil, charcoal or black marker to trace the outlines of the drawing, be careful not to end up with frog sketches on your hands.
- One or more white sheets to deal with any artistic overflow.
- To color you will need markers, paint or colored pencils, be careful not to overflow.
- A pencil sharpener to have a perfect lead and give our kawaii frog every chance.
- An eraser to modify failed strokes.
- We recommend that you print this frog directed drawing course (go to the end of our tutorial to get it) because it will allow you to easily draw wherever you want.
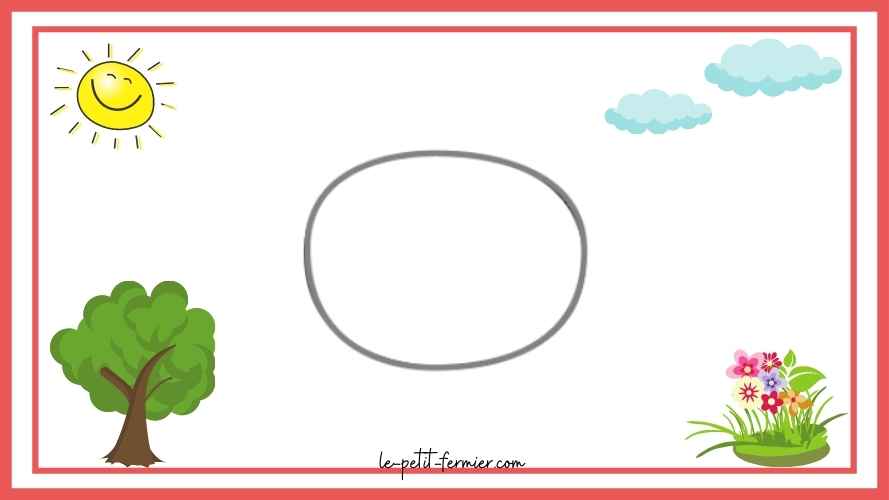
Step 1: The frog’s head
- Pick your favorite drawing tool (we love markers, but you can let your preferences run free) and we can start drawing .
- The first step in making this sketch is the head . It will simply be a question of drawing an oval shape in the middle of your sheet (a round shape is also suitable).
![]()
![]()
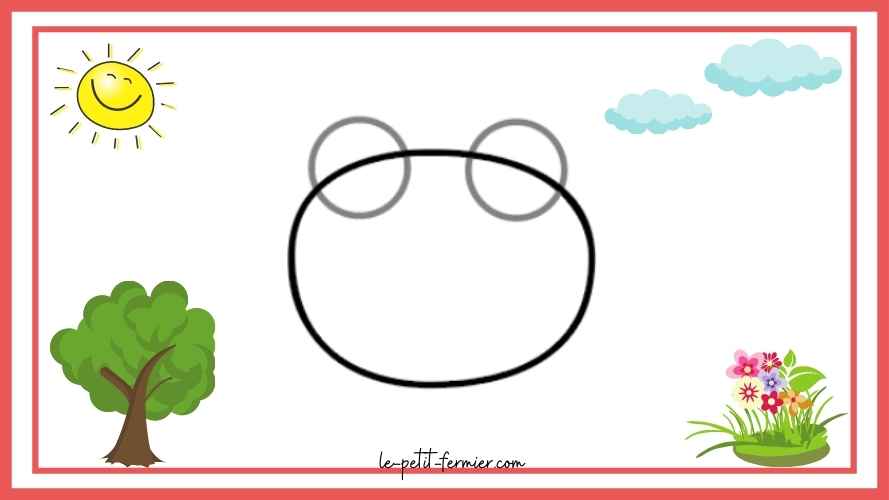
Step 2: Eyes
- To give our frog his visual ability, let’s draw his eyes.
- Draw two smaller circles on top of the face from the previous step, so the eyes should be crossed by the head features.
- You have just drawn the frog’s protruding eyes .
- You see, it’s easy!
- If you are unsure of your sketch see if your drawing looks like ours below:
![]()
![]()
Step 3: Nose, mouth & body
- The next features of the drawing to make are those of your frog ‘s face .
- First draw two smaller black circles in the center of the eyes already made: we are talking about the pupils. The frog will look more realistic looking in one direction (left or right) rather than staring at you.
- Then draw the mouth . At the bottom of the head, draw a line connecting side to side (starting left or right, whichever feels more natural).
- Try rounding that mouth out, making it look like a little curve, the latter will make your frog look nicer.
- Last step for the face, above the smile draw two nostrils.
- Finally draw the outline of the body by making two curved lines on the left and right side of the frog starting from the head and going down to the bottom of your sheet.
- Younger children can also draw straight lines , the end result will still be pretty.
![]()
![]()

Step 4: The frog legs
- More lines ! Draw the frog’s left and right legs , the right as you would start writing the number 2, and a similar shape on the other side. (If you are more comfortable with the concept of heart then on each side of the frog draw a half heart)
- There you go, the famous little frog legs are done!
- We can go to the drawing of the belly , draw his abdomen in the shape of an inverted U or a bridge.
![]()
![]()

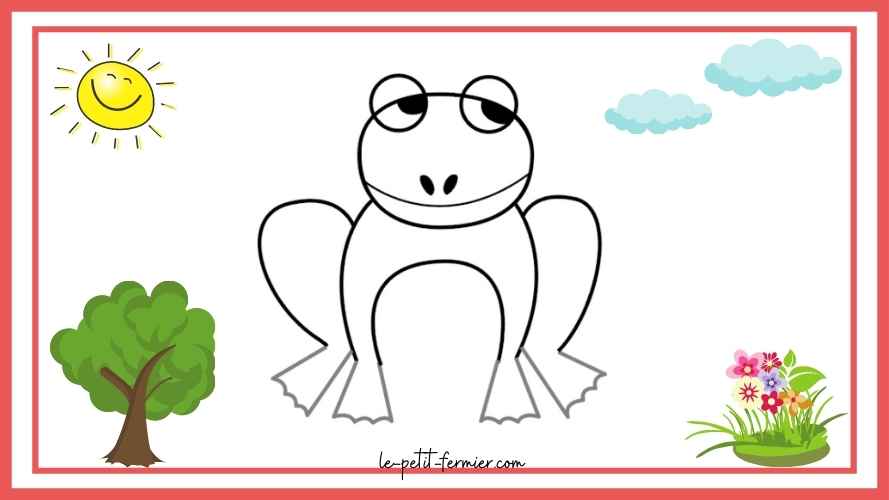
Step 5: Legs
- Now complete the legs indeed the frog is known for its extraordinary leaps, but for that it needs small feet.
- Draw the four legs (front and back) of the frog.
- If you’re more experienced you can add the finger details as shown in the picture, while younger kids and real beginners can just draw straight lines (so the paws look more like a triangle) .
![]()
![]()
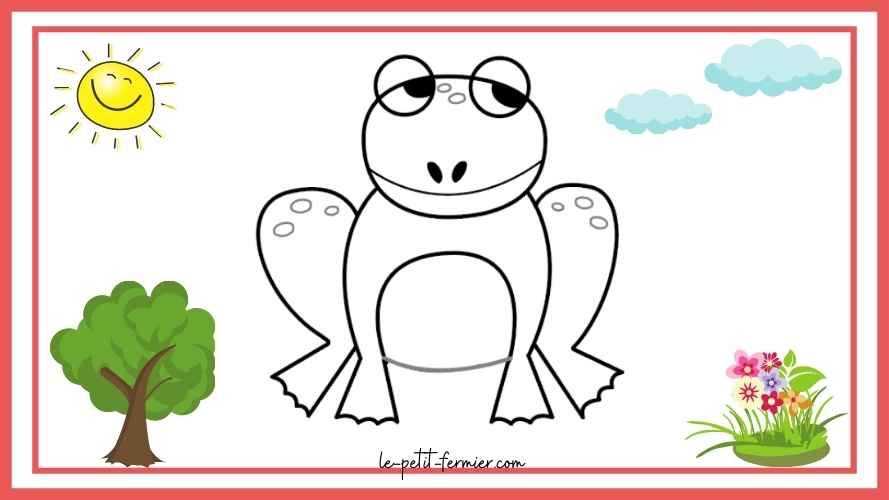
Step 6: Spots on the body
- We are already at the penultimate stage of our drawing, hang in there, it’s almost finished.
- For our frog to be in good health, draw him on his belly, very easily by drawing a last line under his belly which will connect the top of his two front legs.
- For more realism add finishing details to it, that is to say spots on the body and for that nothing could be simpler just make small circles on the left on the right.
![]()
![]()
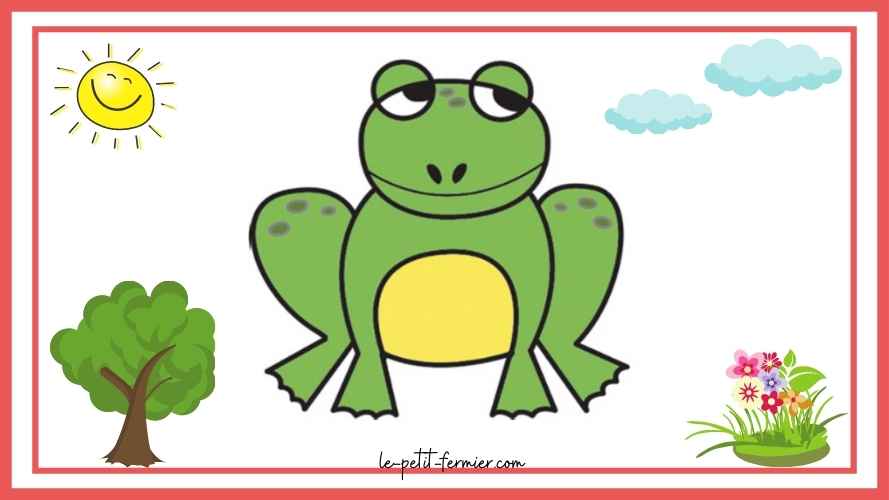
Step 7: Coloring the frog
- Bring your colored pencils , markers , paint or your pastels .
- Now all you have to do is add a nice green color to your artwork for the frog’s skin . As for his belly you can opt for a yellow as we did.
- There you go, you just drew a cute frog, it was easy wasn’t it?
![]()
![]()
Well done again! It looks like you are a great designer! Do not hesitate to consult all our other
drawing tutorials of the farm and its animals
Conclusion to draw a frog easily
We are absolutely certain that your frog is wonderful. We hope you had a good time making it and that it will accompany you for a long time!
Now discover surprising anecdotes about frogs:
- Did you know that there is evidence that frogs have roamed the Earth for over 200 million years, at least as long as dinosaurs ?
- They use their eyes to eat, in fact blinking will help them move the food down their esophagus.
- Frogs breathe through their skin, especially when underwater .
- Frogs are the queens of high jumping, they can jump more than 20 times their height!
- Each year, the frog lays between 5,000 and 10,000 eggs , unfortunately they are far from all surviving, but that’s still a lot of tadpoles .
- The toad is not the male of the frog, they are two different species of amphibians.
Make way for professional advice to succeed every time
- Drawing is a relaxing activity and even a passion so don’t worry about it, we believe in you.
- Let your creativity speak and do not hesitate to test new materials or new materials by drawing on white, black or colored sheets, canson sheets or why not textured sheets, and this, with markers, pens, pencils colours, paints, chalks or any other materials.
- Don’t be discouraged if your first strokes are not good, the eraser was invented for that! Just make sure not to press your lead too hard and make simple sketches of the future strokes.
- For a more realistic frog, do not hesitate to work on its shadows and nuances .
- If, on the contrary, you want a result that corresponds more to the field of manga , cartoons and the whole kawaii universe, it’s up to you to accentuate the black features of your frog.
Come and learn how to make other elements of fauna and flora
Did you enjoy learning to draw the frog with the little farmer? So come and discover our whole series of drawing lessons on fauna and flora. Regardless of your skills, everyone is accepted and you could become, who knows, a very talented and recognized designer!
All our tutorials are explained, simple and accessible to everyone so that it is suitable for all kinds of occasions and that you can meet and learn together.
Passing by the tulip and its large petals, the caterpillar and its long body, the sheep and its pretty hair or the cuddly cat who do you choose for your next work?