![]()
![]()
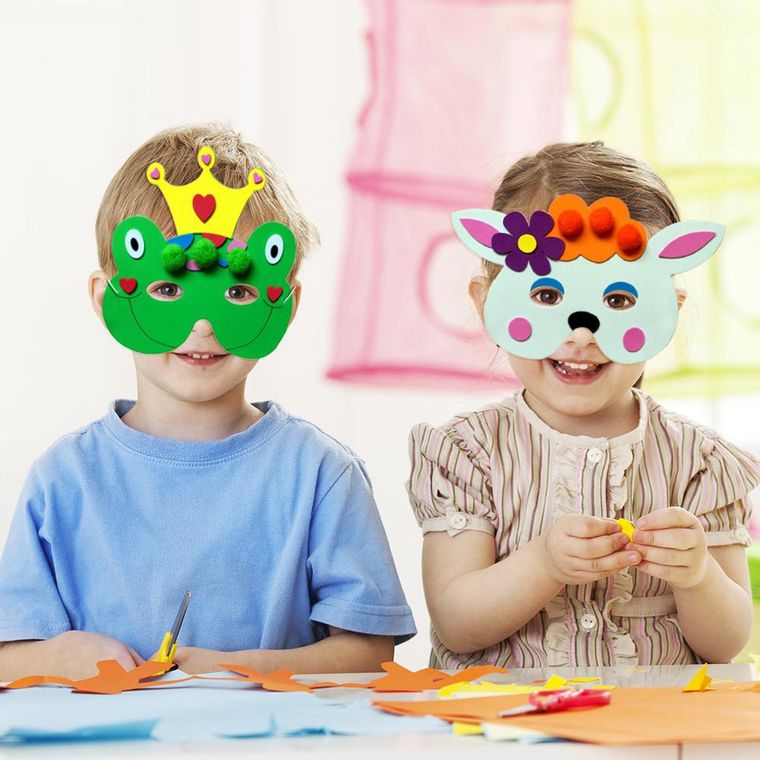
Believe it or not, crafts for children are important for them, since they promote family bonding, boost their creativity and at the same time they learn and improve their motor skills. So take advantage of every moment with them not only to distract them, but to improve their future life. That is why we will indicate easy crafts for children, so that they learn while they play.
![]()
![]()
![]()
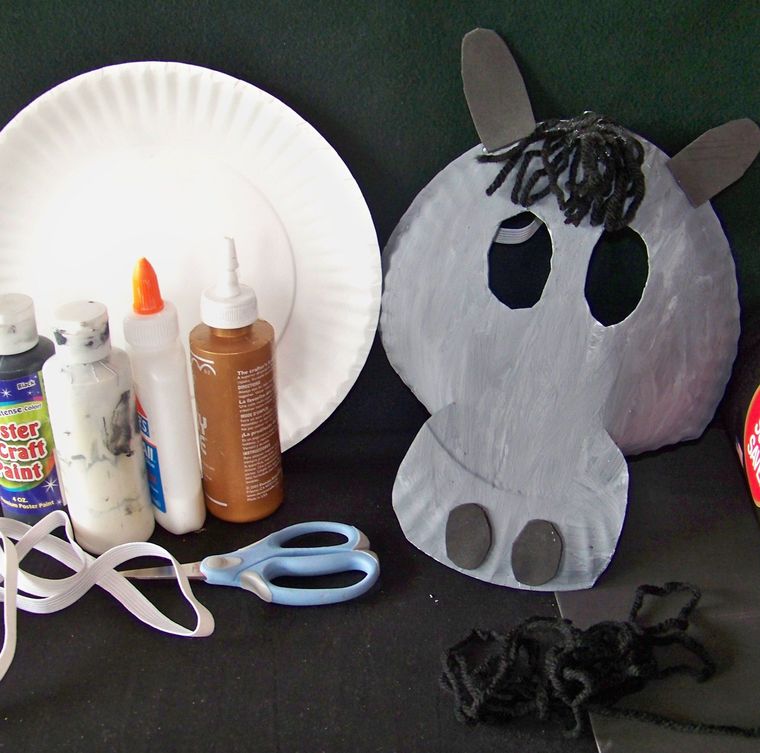
Crafts for children – Cow mask
![]()
![]()

You can use a paper plate and other basic supplies to make this cute cow mask. Children love these types of activities, since they are fun, entertain them and best of all, they can use them when they finish.
Materials you will need:
paper plate
black paint
Pink, white and black cardstock
Glue
Elastic strap or a handmade palo
Instructions:
Paint various black patches randomly distributed throughout the paper plate. This will give it the appearance of a cute cow with black spots. When the paint is completely dry, proceed to carefully cut two holes, which will be the eyes. Now, with the black cardboard you are going to cut out the two ears and with the white cardboard you will cut out two horns. If you don’t have different colored card stock, then you can just paint them.
![]()
![]()
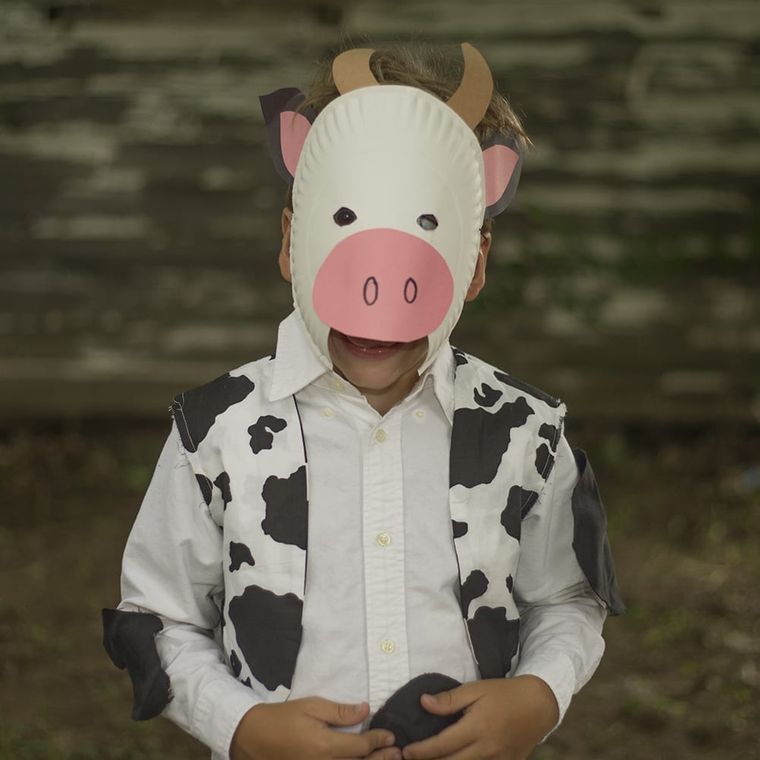
Once you have the ears and horns you can glue them to the top and back of the plate. To make the nose, use pink cardboard or simply paint it and glue it to the front of the plate, drawing the nostrils in the same way. Very well, now so that your little one can use the cow mask, all you have to do is make a small hole on each side of the plate to place the elastic band. If you don’t have the elastic band, you can easily use a craft stick. You just have to stick the stick to the bottom of the plate so that your child can hold his new mask.
Kids Crafts – Penguin Mask
![]()
![]()
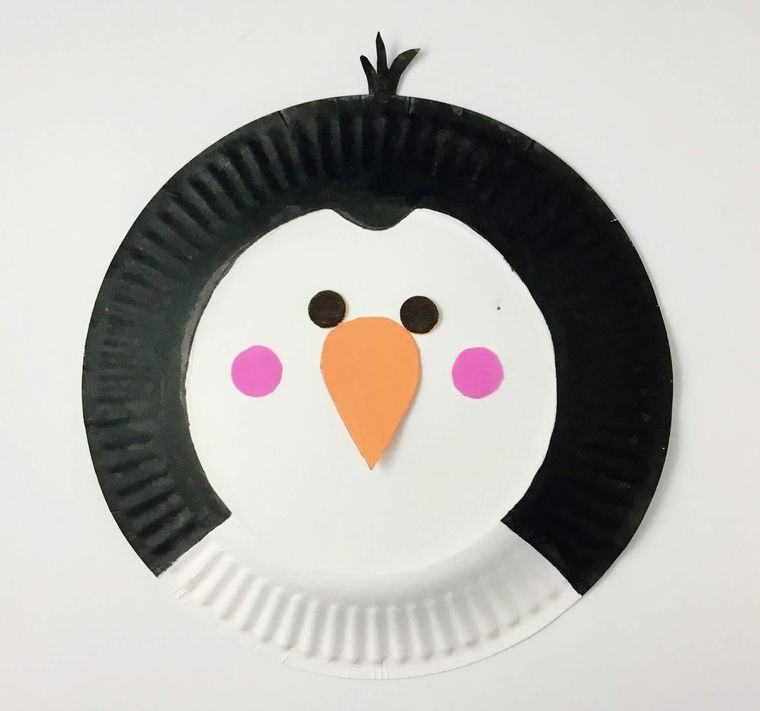
This is another craft that you can do with your child. It is very easy, fast and fun, especially for winter but it also works at any other time of the year. Penguins are cute and depending on the time of year you decide to make this mask, you can decorate it in different ways.
Materials you will need:
a paper plate
yellow cardboard
black and pink paint
Glue
Pair of scissors
Elastic strap or handmade toothpick
Instructions:
The first thing will be that you paint a strip of black color on the top and bordering the paper plate and let it dry completely. While you wait for the paint to dry, draw and cut out a yellow triangle, which will be his little nose. If you don’t have yellow cardboard you can use paint. Once the black paint is dry, glue on the nose and draw two small pink circles for his cheeks and let dry. Then with the help of the scissors, you are going to drill two holes for the eyes, cutting them out in a guaranteed way. If you want to attach a rubber band to it, just poke a small hole on each side of the plate. Although you can also use a stick so that your little one only holds it.
bunny mask
![]()
![]()
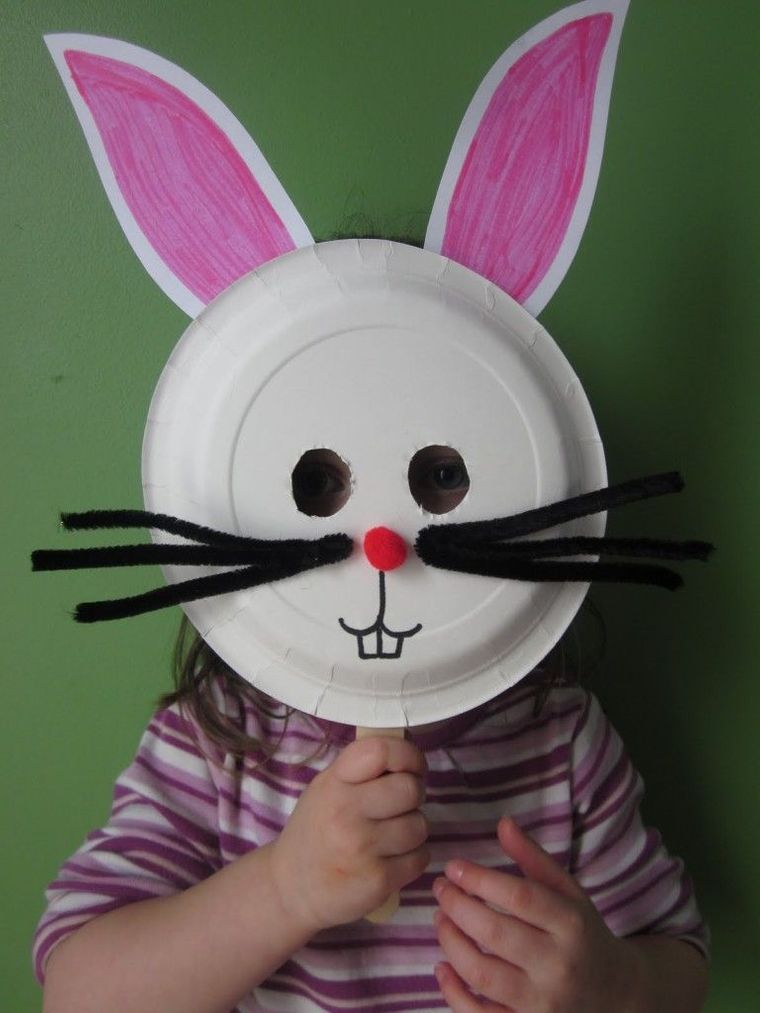
Of course, in this article we are only giving you some ideas so you can make fun masks with your little one. However, there are many ways to do it. For example, a rabbit mask can be made with a simple paper plate and markers. You could also use cotton to simulate their soft fur. You could make a bunny mask with very long ears, anyway.
Materials you will need:
a paper plate
white letter paper
pieces of pink cardboard
Pair of scissors
Black and red pipe cleaners
Elastic strap or handmade toothpick
Glue
Instructions:
This project is actually super easy to do and won’t take more than five minutes. First cut out the two ears from the white paper. Then you will do the same with the pink cardboard, although you must make sure that the pink ears are a little smaller than the white ones since the pink ones will go inside the white ones. Once you have them cut out, just glue the pink ears on top of the white ones and then glue them to the top of the plate.
![]()
![]()
Now with the help of the scissors you will open and cut out the eyes and then you will take a piece of red pipe cleaner to make the round nose and the black ones to place the whiskers. Finally, you will draw the mouth with its characteristic teeth with a black marker. Remember that you can use the elastic band for your little one to put on the mask or simply stick the stick so that he holds it.
Crafts for children – Panda bear mask
![]()
![]()
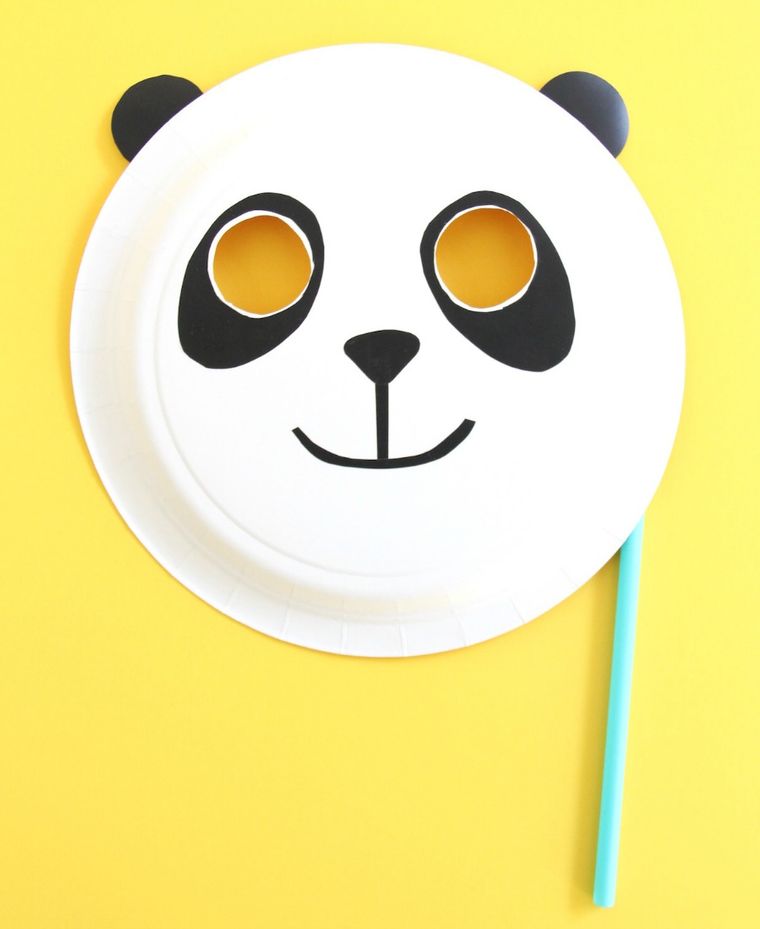
The little ones in the house will enjoy making this panda bear mask. Like all other DIY children’s masks, this one is very simple to make. The panda bear mask is not only cute and fun to wear, but it also looks great if you want to put it up as a display in your child’s room.
Materials you will need:
paper plate
Glue
Elastic tape
black card stock
Bookmark the black labeler
Instructions:
First make a hole on each side of the paper plate and tie the elastic ribbon through them. Cut two circles out of black cardstock. Tape these circles to the back of the paper plate where you want the eyes to go. Once you’ve glued them on, carefully cut out two holes for the eyes. Now cut two larger circles out of black construction paper, which will be the ears, and glue them to the edge of the paper plate. Almost finished, cut a nose from the black cardstock and glue it to the middle of the face. Use the black marker to draw the mouth and voila. Remember that if you do not have colored cardboard you can use paint or markers of different colors.
cat mask
![]()
![]()

It is very easy to make, and it will keep the little ones very entertained since for this project they have to paint, cut and paste. You just want to make sure they don’t put on the mask before it’s completely dry.
Materials you will need:
paper plate
black paint
Scraps of black and pink cardstock
Glue
Elastic strap or handmade straw
Instructions:
Paint the back of the paper plate black and let it dry completely, then carefully cut out two holes for the eyes. Now make the ears with the black and pink cardboard as shown in the image. Once you have the ears, continue with the nose and mouth, remember that if you don’t have cardboard you can still use paint or colored markers. If you wish you can use pipe cleaners to make the mustaches or you can also leave the mask that way. Lastly, attach the elastic band or glue the craft stick to it.
Crafts for children – Beaver mask
![]()
![]()
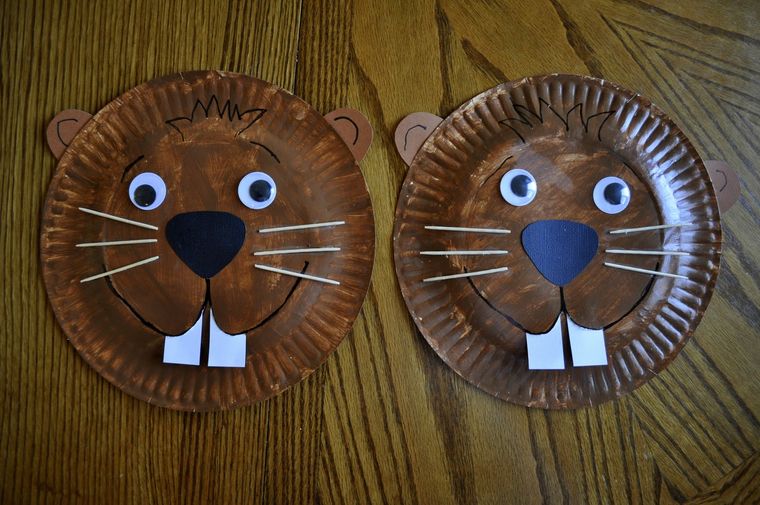
A beaver mask is not very common among children, but it is still very easy to make. You will not need many materials and you will be able to work with your little ones and develop their creativity.
Materials you will need:
paper plate
brown paint
Brown, black and white cardstock
Elastic strap or handmade straw
Pair of scissors
Instructions:
Paint the back of the paper plate brown and let it dry well. Cut with the help of scissors and carefully the two holes for the eyes. Now cut two circles out of the brown card that will be the ears and glue them to the back of the face. Cut out the black nose and two white teeth, glue them to the front of the mask. All that remains is for your little one to decide if he wants to put the mask on his head with the elastic band or if he wants to hold it with his hand.
Crafts for children – Chick mask
![]()
![]()
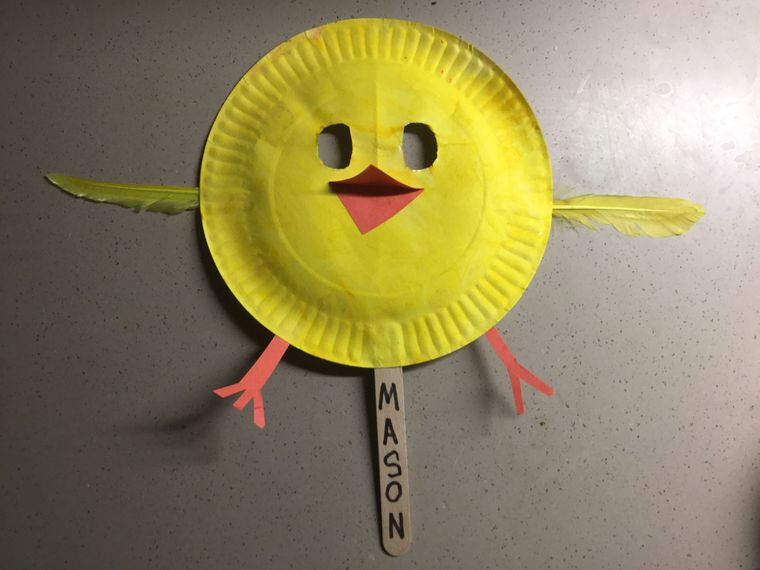
This mask of a cute chick includes the work of painting, cutting and gluing. But do not be scared that it is as easy as the other DIY masks that we have indicated.
Materials you will need:
paper plate
Yellow paint
orange cardboard
Glue
Elastic strap or handmade straw
Pair of scissors
Instructions:
Paint the back of the paper plate obviously yellow and let it dry very well. Cut two holes for the eyes. Take the orange cardboard and cut a triangle to make the beak of the chick and glue it to the face. In the same way you can make extremities like the legs or if you prefer, just leave the face. Make a small hole on each side of the mask and thread the elastic band through and tie to secure or glue the craft stick to it.
elephant mask
![]()
![]()
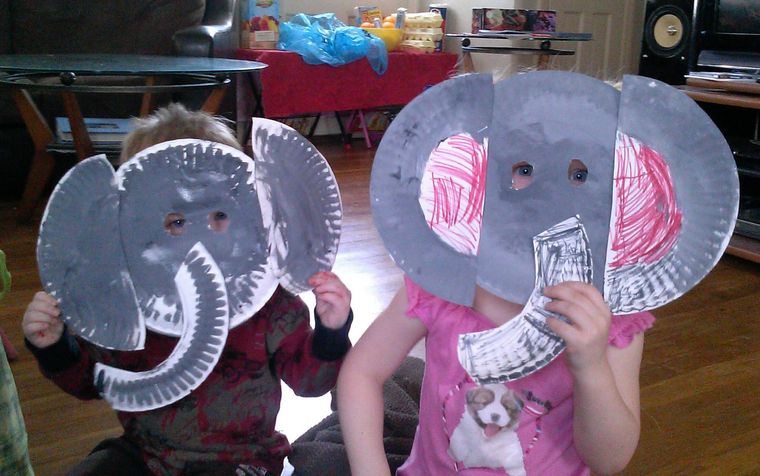
Remember that we offer you only ideas of how you can make a mask with your little ones. But you can let your imagination and your child’s run wild and make it totally different. Even if you want, you can make an elephant mask with embellishments, so that it can look like an elephant from India.
Materials you will need:
Two large paper plates
gray paint
Gray cardboard for the trunk or if you wish another paper plate
Glue
Elastic tape
Pair of scissors
Instructions:
Paint the back of the paper plate with the gray paint and let it dry. When the paint is dry, cut out the holes for the eyes. With the gray cardboard you can cut the trunk and the ears. Although if you wish, you can make the ears with one of the large plates cut in half. Once you have the ears and the trunk, glue them. Make a small hole on each side of the face to put the elastic band or stick the wooden stick in the lower part of the mask so that your little ones hold it with their hands.
Crafts for children – Horse mask
![]()
![]()
Doing any kind of craft helps little ones develop important skills for their future. It gives them dexterity, confidence and work on their creativity. The advantage you have of doing crafts with your children is that any project will amuse and distract them. Even more so when the project involves painting, cutting and pasting and then playing.
Materials you will need:
large paper plate
small paper plate
brown paint
Brown and black torn paper
Glue
Black pen or marker pen
Elastic tape
Instructions:
You should paint the plates brown and let them dry very well. Glue the small plate to the edge of the large plate to form the horse’s nose. In this second plate, which simulates the nose, you must draw the nostrils with the black pen or marker. Now carefully cut out the eyes. To make the little ears, use the brown cardstock. Draw and cut out the ears, then glue them on top. If you want to put a fringe on it, you can use the black cardstock and make a rectangle to stick between the ears. Or just paint it with the marker. Draw the mouth and place the elastic band securing it on each side of the horse mask and you’re done.
frankenstein mask
![]()
![]()
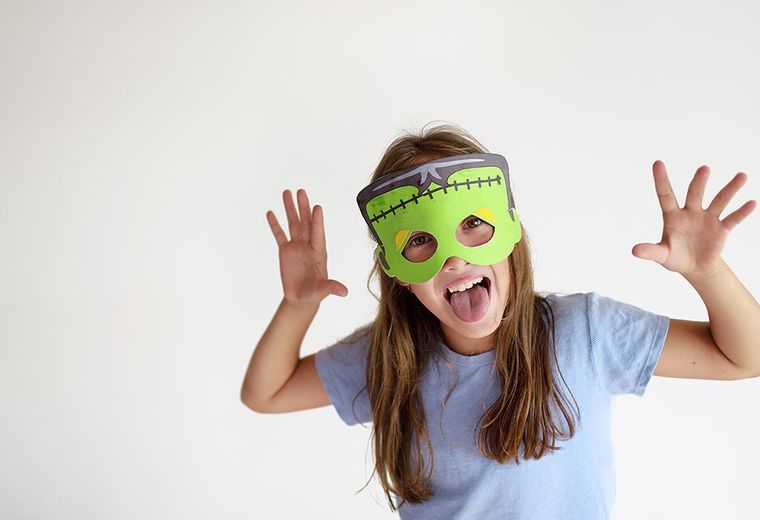
You may think that this mask could only be used for Halloween, because it is not. Remember that children do not have that perception of time. They just wear and do the things they like in any season. There are even children who love to be dressed up throughout the year and are happy enjoying their outfits without thinking about what they will say. So, if your little one loves monsters, this mask will be perfect for him.
Materials you will need:
card
Green, black and yellow paint
Pair of scissors
Elastic tape
Instructions:
Cut a piece of cardboard to fit the top half of your little one’s face. Cut the top of the mask to form a straight line like Frankenstein’s monster. Now cut out the holes for the eyes. Paint the mask green and let it dry very well. Using the black paint, lightly paint over the top of the mask to simulate hair. Now draw a line on the forehead of the mask with a small vertical line to make it look like a scar. You can use the yellow paint to rub some around the eyes to make them paler. And finally, make the small holes on each side of the mask and pass the elastic band.
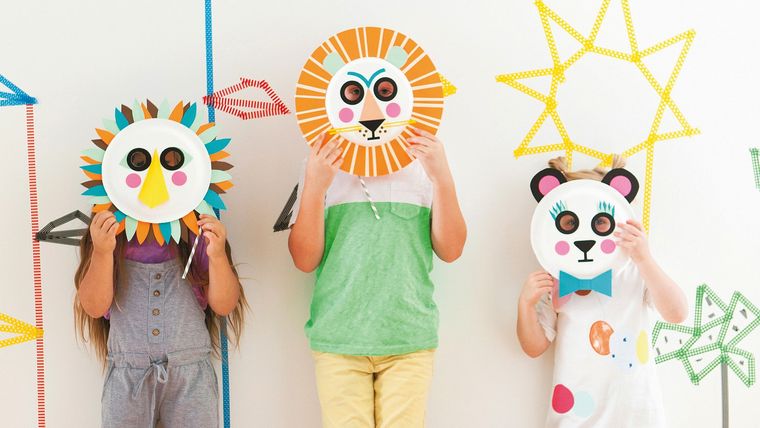
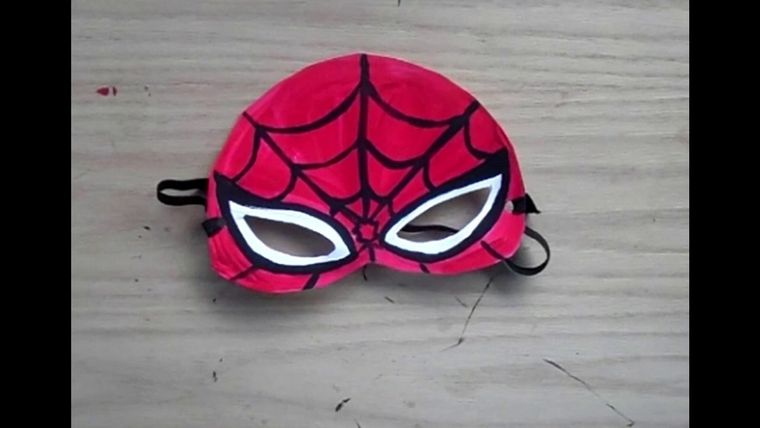
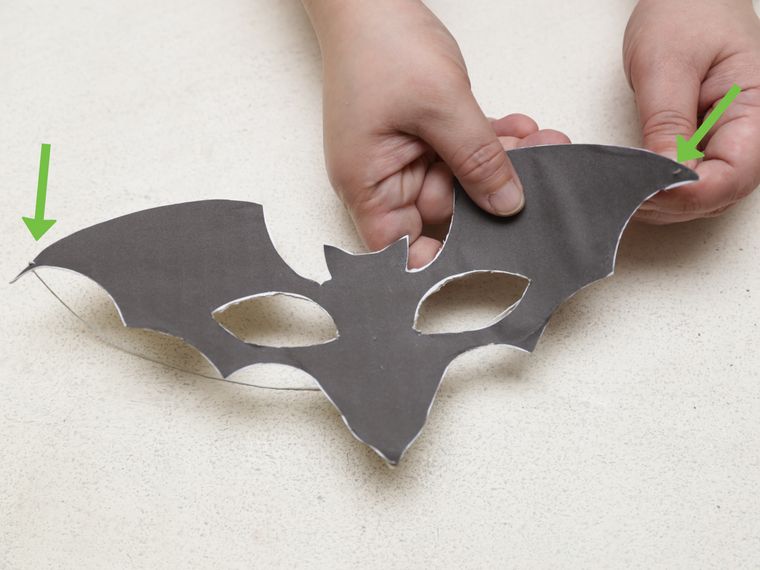
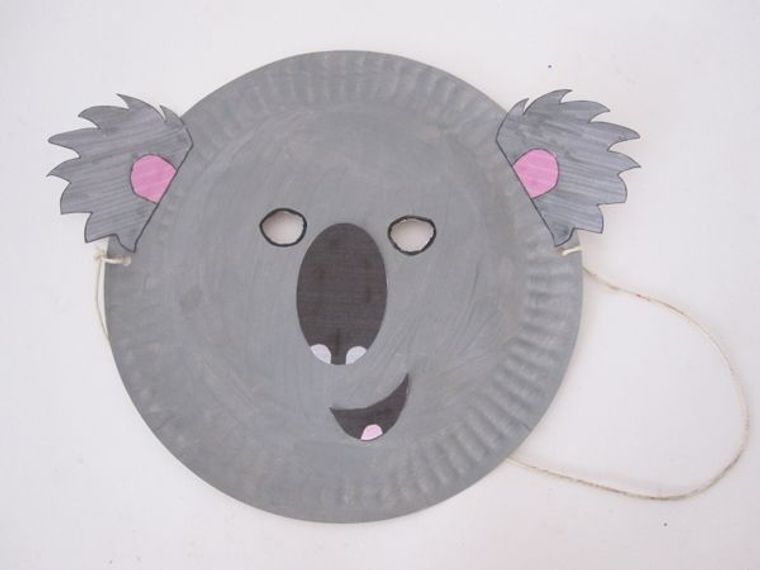
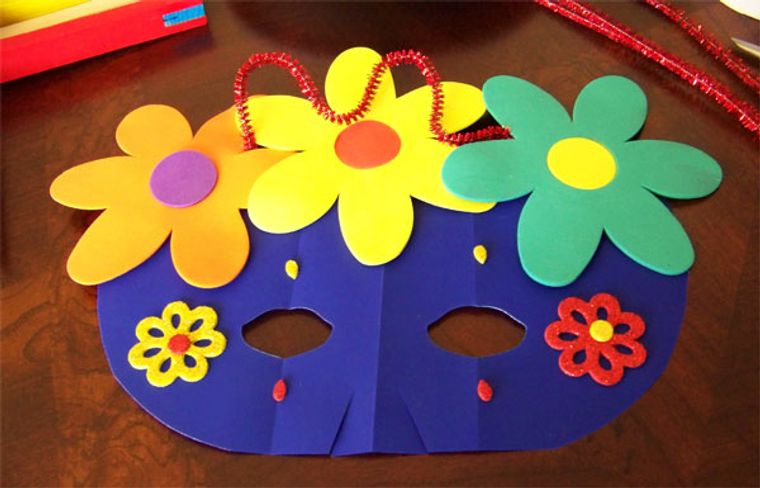
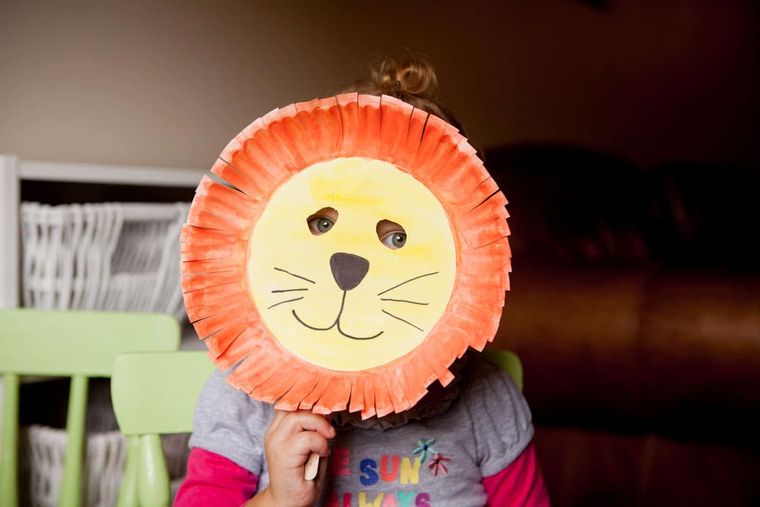
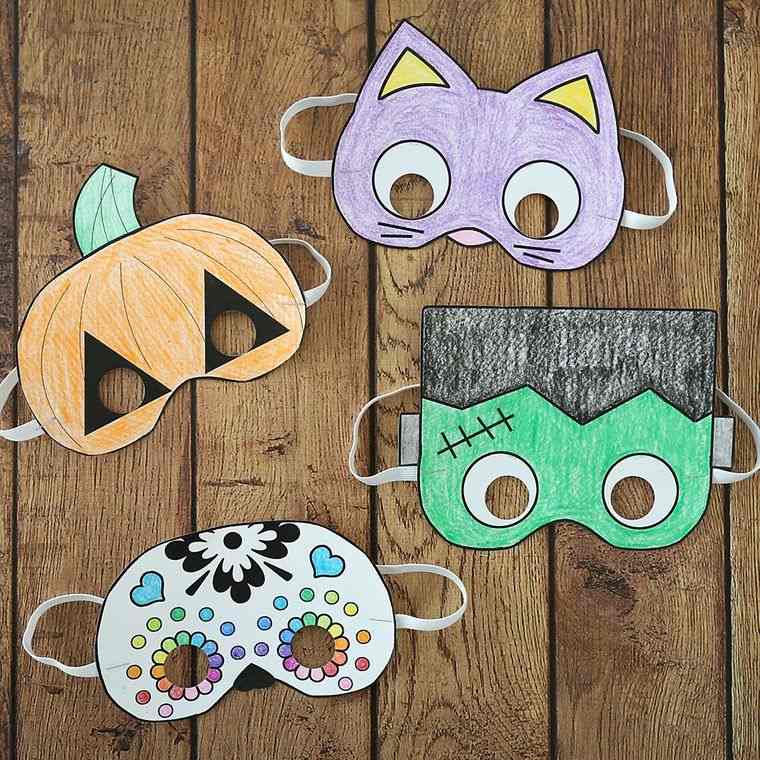
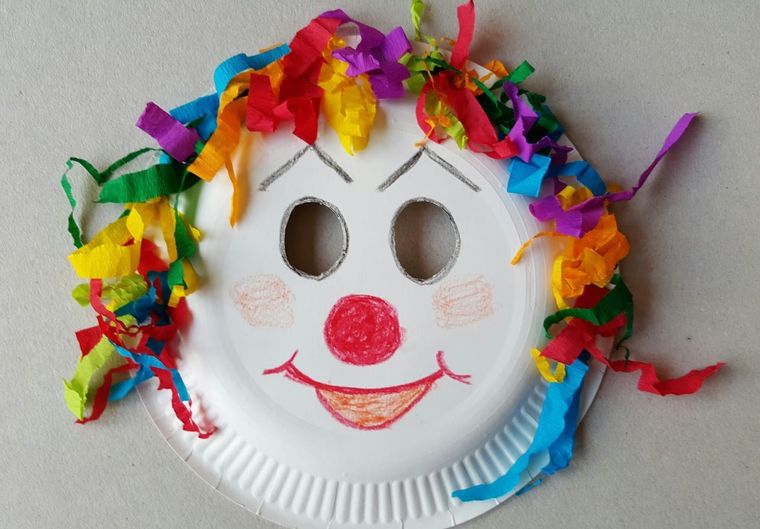
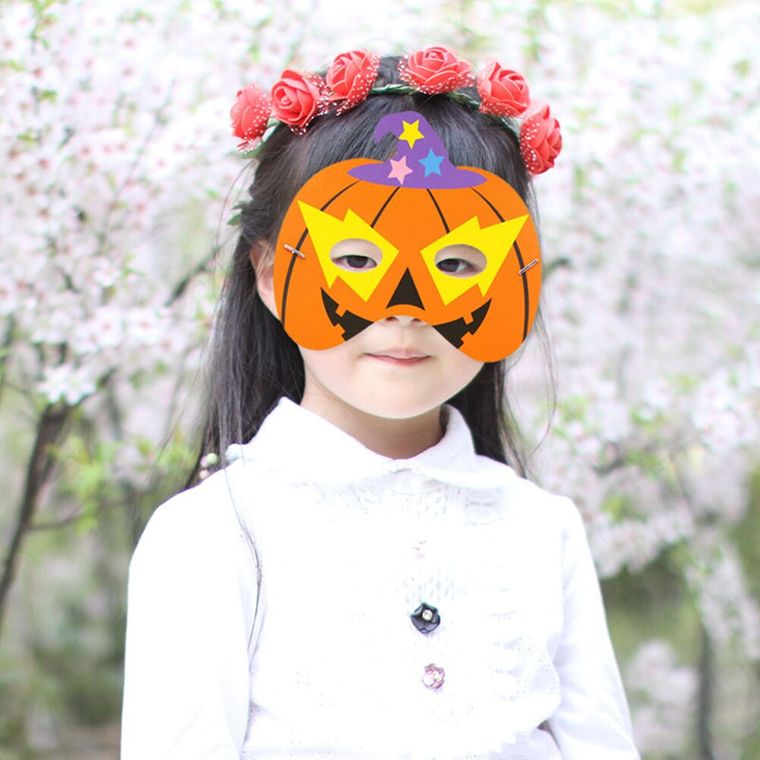
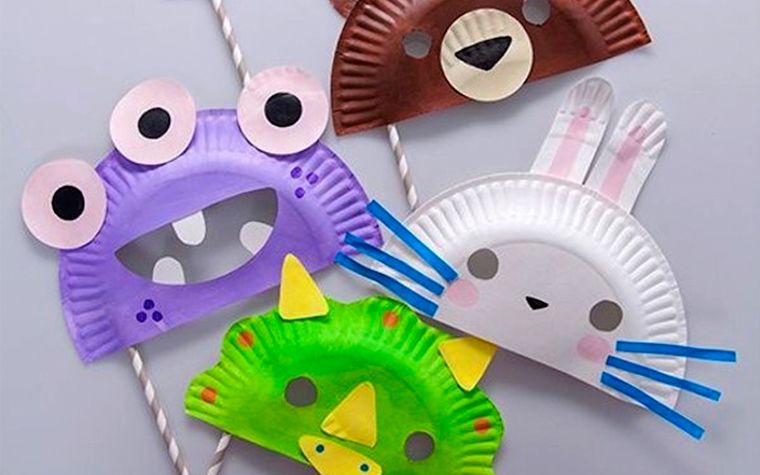
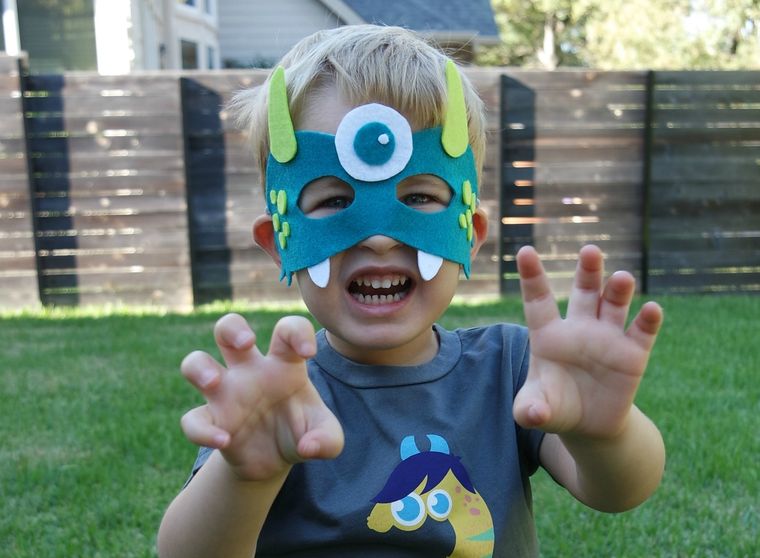
Other ideas for children’s masks
![]()
![]()
![]()
![]()
![]()
![]()
![]()
![]()
![]()
![]()
![]()
![]()
![]()
![]()
![]()
![]()
![]()
![]()
![]()
![]()
![]()
![]()
![]()
![]()
![]()
![]()
![]()
![]()
![]()
![]()

![]()
![]()

![]()
![]()